Basics sectors
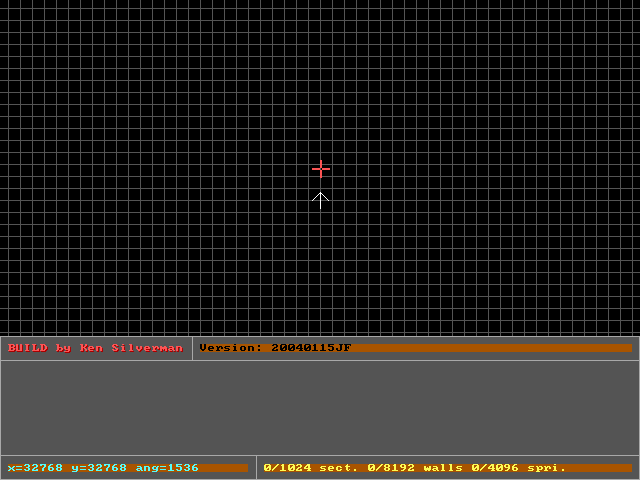
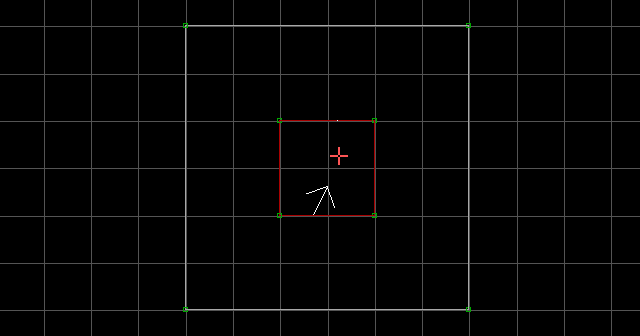
This is what the 2D grid looks like on your screen. That little white arrow is the current player position. The red mouse cursor is used to highlight things. To zoom in and out, use A and Z. You can use G to cycle through 7 different grid resolutions (the 7th being "grid off"). Play around with those keys to get the feel of it.
If you press Escape, a menu will appear in the orange box. The options are: (N)ew, (L)oad, (S)ave, save (A)s, and (Q)uit. It's pretty basic. Start a new map, Load one, Save one, Save one with a specific name, or Quit. Easy stuff.
Constructing
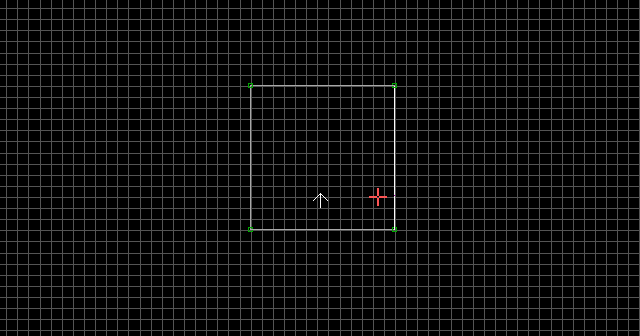
Point the mouse cursor on a grid point. Press the Spacebar. A little green box called a vertex will appear on the nearest grid point. Move the mouse around and you'll notice that a white line is now following your mouse cursor. This white line is a wall. Use the Spacebar again and continue making vertices in a square shape. When you connect the last vertex to the first one, the white line will stop following your mouse cursor. This means you just made your first sector. A sector is just a collection of lines and vertices. A sector can be any size and shape that you want. While you are drawing a sector, you can use Backspace if you muck up and want to reposition a vertex.
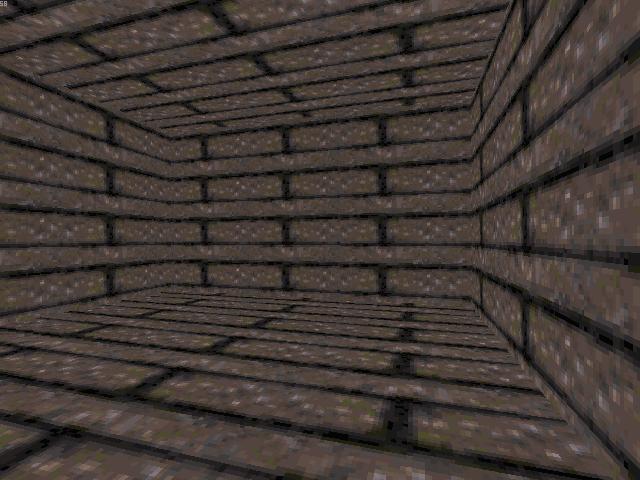
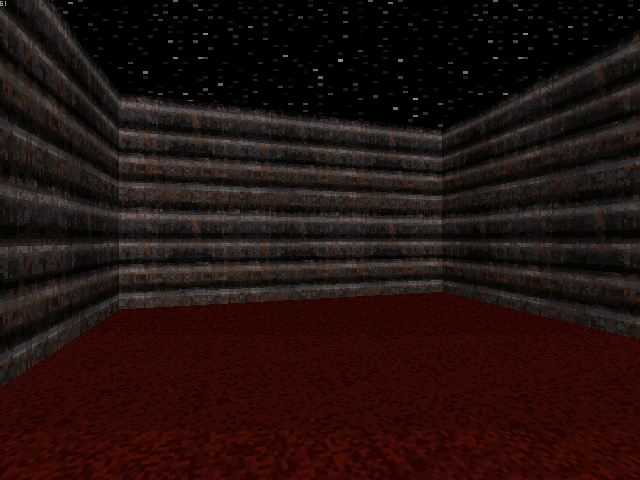
When you hold the Right Mouse Button, the white arrow follows your mouse cursor. Hold the Right Mouse Button and move the white arrow inside your sector. Let go of the Right Mouse Button and press the Keypad Enter. This will take you into 3D mode. 3D mode resembles the game and is much more entertaining than 2D mode. You are standing inside your very first room! Use the Arrow Keys to take a walk around. That little number in the top left corner is the framerate. The higher the number, the faster and smoother the game will play.
Note: If you own a laptop like I do, then you've probably noticed that you don't have the standard keypad on the right side of the keyboard. I'm not sure if all laptop keyboards work like this, but if you have a Fn key, you'll have to hold it and then press Enter. Use the Fn key to access keypad values in Build.
Elevation
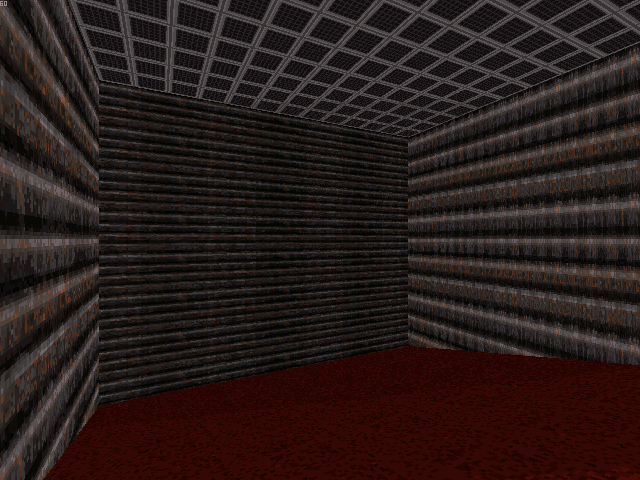
You might want to raise your ceiling a bit higher. This is a very simple process. Point the mouse cursor at the ceiling and press PGUP until you feel comfortable with it. You can also press PGDN to lower it. The same can be done with the floor. If you press PGUP or PGDN on the walls, your ceiling will move up and down. Raise the ceiling until you feel a little less claustrophobic.
Eventually you're going to be making sectors that are so high or low that you have to move up and down to see everything. There are three ways to move up and down. They are cycled through with Capslock. These three modes are Game Mode, Height Lock Mode, and Float Mode. You can move up and down using A and Z. Try all three modes to get a feel for them.
Texturing
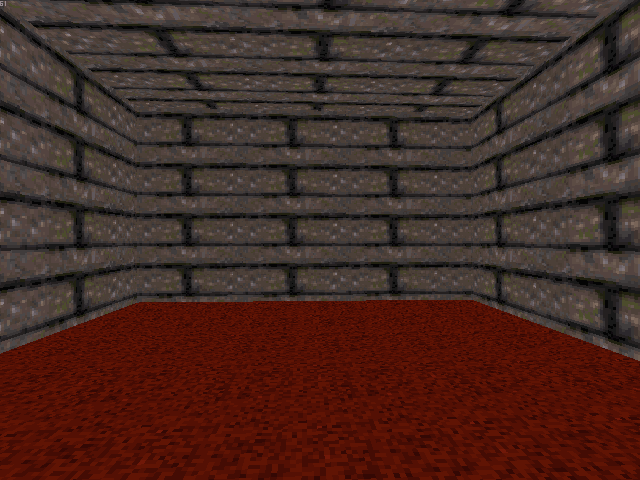
Let's get rid of that crappy brown brick and replace it with something nicer. How about some red carpet flooring? Point your mouse cursor at the floor and press V. Now there will be a black screen with nothing but that crappy brown brick. This screen is an image list of all the floor/ceiling textures currently being used in your map. If you were to press V on the walls, it would show all of the wall textures being used. Press V again to get a full list of all of the textures available. From here, you can use the Arrow Keys or the PGUP/PGDN keys to browse through the textures. To get to the red carpet tile faster, press G, type 899, and press Enter. The list will go straight to the red carpet texture. Press Enter to select it. There, now your floor looks a lot nicer!
You can texture the walls the same way. Just highlight a wall with your mouse cursor and press V twice. Pick any texture you want. Notice how some textures have a pink colour on them? That colour will appear transparent in the game, so it is usually used for sprites or masked walls. If you use it on a solid wall however, the pink will appear black in the game. You'll learn about those later. For now though, pick something without the pink colour.
Rather than redo this procedure over and over, you can just copy and paste your wall textures to get the job done faster. Aim the mouse cursor at the nicely textured wall and press Tab. Then aim your mouse cursor at each individual wall and press Enter on each one. This will copy the nice new texture to all of the walls quickly. Finally, you can texture the ceiling the same way as the rest. Press V twice, pick a texture. That's all.
Parallaxing
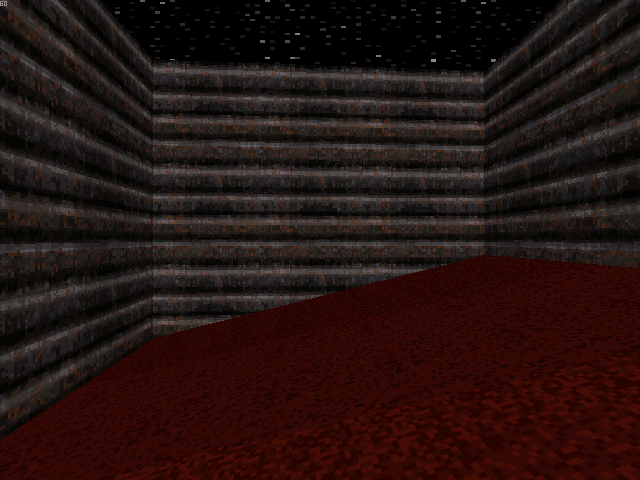
Parallaxing is simple, just think of it as a "sky effect". To do it, give the ceiling a sky texture, then simply point at the ceiling and press P. You can actually parallax any texture on the ceiling that you want, but it might look strange. It's usually best to stick with a sky texture (I used #97). Most of the sky textures are near the beginning of the texture list. Although the floor can be parallaxed, it's not recommended to do so in an area where the player can freely roam around. It would look rather strange.
Shading
To shade a wall, ceiling, or floor of a sector, aim your mouse cursor at it and press Keypad + to brighten it, or Keypad - to make it darker. You could also use Apostrophe (') + S to shade it manually (using a number based system). Shading is an art form. How good a level looks depends heavily on how well it is shaded. Over time, you'll learn the methods of shading like a professional, but for now all you need to know is how to use it.
Advanced
To slope a sector's floor or ceiling, you should begin by assigning the sector's 'first wall'. The first wall will be the axis line for the slope. To do this, point your mouse cursor at the wall which you want to be the first wall, then press Alt + F. In 2D mode, you can just highlight the wall and press Alt + F (make sure the mouse cursor is on the proper side of the wall while highlighting it). Point at the floor or ceiling and use the [ or ] keys to slope it up or down. You can see that the axis for the slope is the same wall that you just set as the first wall.
If you need to change the size or position of a texture, you can either pan it or stretch/shrink it. Panning just means shifting the texture up, down, left, or right. Use Shift + Keypad 2/4/6/8 to pan a texture, or just Keypad 2/4/6/8 to stretch or shrink it. To flip a texture, use the F key to cycle through all the different variations. You can't stretch or shrink a texture that's on the ceiling or floor (you can only pan or flip it), but you could use E to expand or contract it instead.
To change the palette (colour) of any part of a sector, highlight it in 3D mode and press Alt + P, then enter any number from 0-25. Not all of the palette values will actually change the colour of the sector. Check the palette reference to find out what the different number values do. Note that if you change the palette of the floor, any active objects in that sector will also change colour in the game (such as the player). You can also change the "relative alignment" of a ceiling or floor. It's not so important now, but when you learn how to make sectors move around, you're going to want to know how to set it. Use R on a floor or ceiling to turn relative alignment on/off. Relative alignment controls which wall the floor or ceiling aligns to.
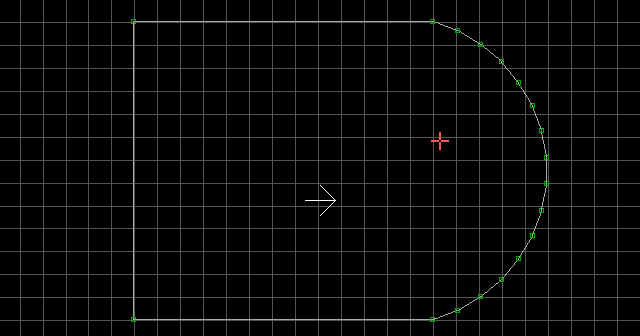
Another useful tool is the ability to create semi-circles. Highlight any wall you want and press C. Now move the mouse cursor around and you'll notice a semi-circle following your mouse cursor. You can use the Keypad + and Keypad - keys to add or subtract how many vertices the circle will use. Now you can either press Spacebar to complete the operation and create the circle, or you can press C again to cancel the operation.
Valid Player Space
Understanding valid player space is usually a little difficult, but I'll try to explain it visually. Here we have a sector inside of another sector. Recreate this scenario, and make sure you create the outer sector first (rule of thumb: always create sectors from the outside in). In 2D mode, we can tell that the inner sector is solid because of the white lines. In 3D mode, we can tell that it is solid because of the column in the middle of the room.
Place the mouse cursor inside the innermost sector. Now hold Alt and press S. The inner sector will become valid player space. In 2D mode, we can see this because of the red lines. In 3D mode, we can see this because the column is gone.
Now that you understand valid player space, I can explain white lines and red lines. White lines are one-sided walls, meaning that only one wall exists. The other side is facing invalid player space, therefore no wall exists on that side. A red line is a two-sided wall, meaning that the player can be on either side of that line, and both sides have seperate attributes. It's really quite simple, but at first it seems confusing. You'll be using this keypress a lot, so remember: Alt + S turns a nested sector into valid player space.
Splitting and Joining
Inserting vertices is useful for shaping your sector after it's already been constructed. To insert vertices, highlight the wall where you want to insert, and press Insert. You'll see a new vertex appear on the wall. You can use the Left Mouse Button to drag that vertex anywhere you want. You can insert as many vertices as you want and pull them around to reshape your sector.
If you draw a line connecting two of the vertices, a red two-sided wall will appear. This means you have just split the sector in two. When you are connecting vertices within a sector, do not cross the lines! You may notice that a sloped sector will readjust its 'first wall' after being split with a red line.
If you want to join two sectors which have been split, press J in the first sector, then press J again in the second sector. The two-sided wall will disappear meaning that the two sectors have been joined. The joined sector will keep the attributes of the first sector in which you pressed J.
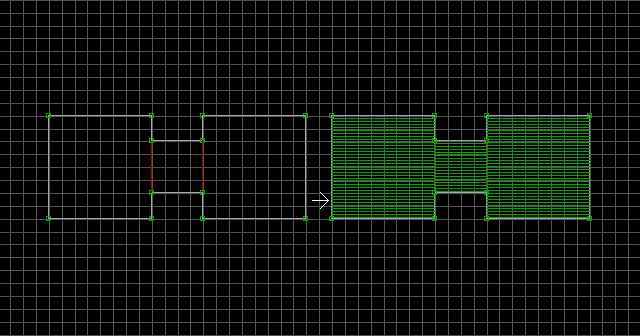
Now you're going to learn how to connect seperate sectors. First create two independant square sectors. Use Insert to insert four vertices, two on the right wall of the first square, and two on the left wall of the second square (inserted vertices are shown as green). Now you can use Spacebar to draw a small "hallway" square connecting the four newly inserted vertices. When you draw a white line overtop of another white line, it will turn red after the sector drawing is complete.
Moving, Copying, and Deleting
To move an entire sector and everything within it, hold Right Shift and drag the purple box over the sector(s) you want to move. Once they're highlighted and flashing, use the Left Mouse Button to drag it and place it wherever you want, then press Right Shift again to deselect it. I always move sectors an even amount of spaces. This ensures that textures stay in the same position (because ceiling/floor textures are stationary).
Copying is done in much the same way as moving. Hold Right Alt and drag the green box over the sector(s) which you want copied. Once they're flashing green, press Insert. The message "sectors duplicated and stamped" will appear, and you can now use the Left Mouse Button to drag the new sector off of the original and place it wherever you want. To delete a sector, first delete all of its sub-sectors, sprites, and tags (you'll learn about all that stuff soon), then press Right Ctrl + Delete. Deleting the empty white-walled sector is done by overlapping its vertices one by one to collapse and delete it. If two vertices from the same sector occupy a grid space simultaneously, one of them will be deleted.
Walls
Orientating walls is done with the O key (the letter O not zero). You can orientate walls to either the floor or ceiling. To get a better understanding of what this does, try pressing O on a wall, then use PGUP to raise the ceiling. Do the same thing again to see the difference. This is useful later on when you learn how to make sectors move up and down.
Split a sector in half with a red line. Now switch to 3D mode. Point your mouse cursor just below where the red line would be, and press M. A masked wall will appear. You can make this wall transparent using T. There are three modes of transparency, all of which are cycled through with T: opaque, semi-transparent, and extra transparent. Try changing the masked wall's texture to something with that pinkish colour in it. Notice how that colour becomes invisible when it's used on a masked wall? If you want to make the wall solid so you can't walk through it, you can set the blocking flag by pointing at the masked wall and pressing B. You can press H on it to set the hitscan flag, which allows the wall to be shot by bullets. A blocked wall appears pink in 2D mode, and a hitscanned wall appears thick in 2D mode. Use B and Ctrl + H to set these flags in 2D mode.
You can also make a one-sided masked wall by pressing 1 instead of M. The difference is that you can't make a one-sided wall transparent. If you walk through it and turn around, you won't be able to see the other side. Note that when you change the attributes of a masked wall, and then press M to make the masked wall disappear, it will still maintain all of its attributes.
Finishing Up
Setting the player start position is simple. All you have to do is move to the exact position and height which you want to start at (in 3D mode), then switch to 2D mode and press Scroll Lock. Your coordinates, height, and angle will be saved. After setting the start position, move the white arrow over, and you'll see a brown arrow. The brown arrow represents the player start position.
To take screenshots in Build (or in the game), press F12. The new screenshots will appear in the game directory.
If you like what you've made, save it. Saving is very important. You'll quickly learn how often you should save. There are times where you'll flip out because hours of work have been lost thanks to human or computer error. Get into the habit of saving every time you make a minor change, or every few minutes. Use Save (A)s to save multiple versions of your level in case an idea goes wrong and you'd like to backtrack. That's pretty much it for sectors. I know it's a lot of information to retain at first, but keep at it and when you're ready to learn more, move on to the Sprites section.
